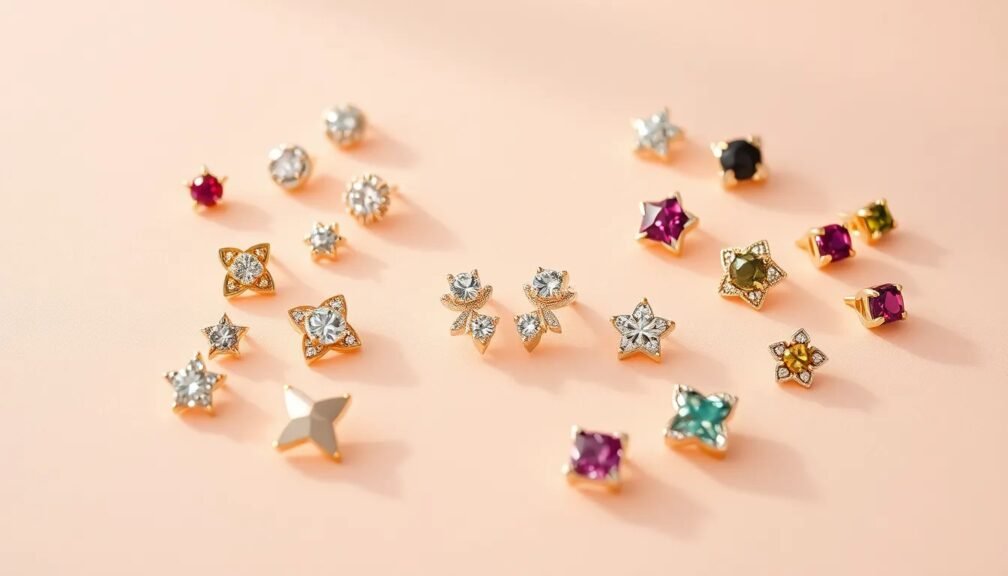
Jewelry is not just an accessory; it often holds sentimental value. A cherished piece may be a symbol of love, memories, or milestones in your life. However, everyday wear can lead to damage, and you may find yourself in need of jewelry repair. Fortunately, many common issues can be addressed at home with the right tools and some patience. In this comprehensive guide, we’ll explore essential tips for DIY jewelry repairs, enabling you to bring your favorite pieces back to life.
Understanding Common Jewelry Issues
Types of Jewelry Damage
Before diving into the repair process, it’s crucial to identify common types of jewelry damage. Here are some frequent issues:
- Broken Chains: A common problem with necklaces and bracelets.
- Loose Stones: Gems can become dislodged, making your jewelry less secure.
- Bent or Broken Clasps: Clasps that fail can make it difficult to wear your jewelry.
- Scratches and Dullness: Many materials, like gold and silver, can lose their shine over time.
Each of these issues can often be fixed with basic tools and a little know-how.
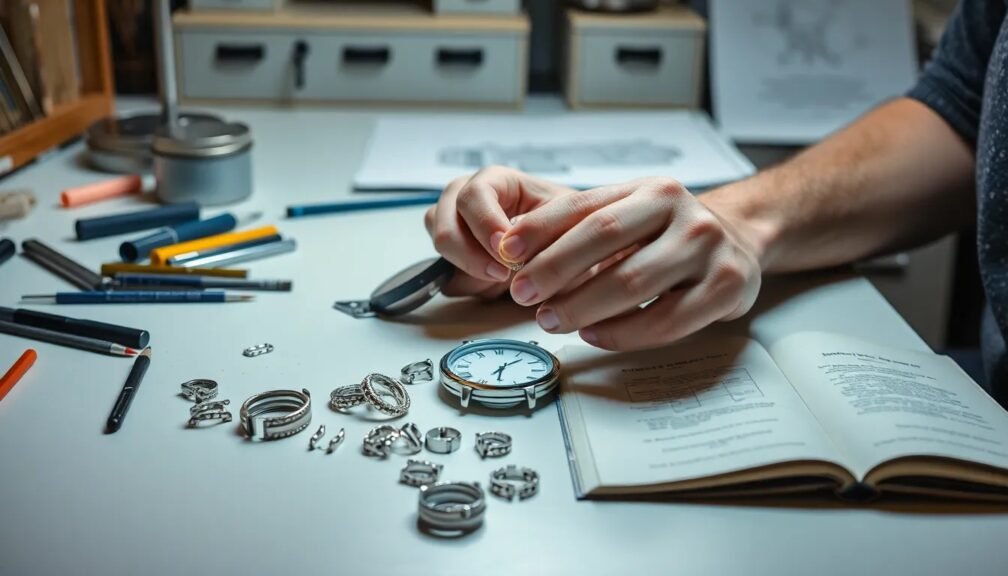
Key Tools for DIY Jewelry Repair
Essential Toolkit
To effectively tackle jewelry repair, consider assembling a toolkit with the following items:
- Pliers: Round-nose, flat-nose, and wire cutters are essential for working with chains and clasps.
- Jewelry Glue: Look for strong and durable jewelry adhesive, especially for stones.
- Soldering Kit: If you’re more adventurous, a soldering kit can help with more complex repairs.
- Jewelry Cleaning Supplies: A cleaning cloth, baking soda, and vinegar can help restore shine.
- Replacement Parts: Keep a stash of clasps, jump rings, and stones for quick fixes.
Where to Source Tools
You can find these tools at craft stores, online marketplaces, or specialized jewelry supply shops. As you build your toolkit, remember that quality matters. Investing in reliable tools will save you time and frustration during your DIY jewelry repair projects.
DIY Jewelry Repair Techniques
Fixing Broken Chains
One of the most common issues needs immediate attention. To repair a broken chain:
- Locate the Break: Examine the chain closely to find the split link.
- Use Pliers: Open a jump ring using your pliers. Thread it through the broken ends of the chain.
- Close the Jump Ring: Use the pliers to firmly close the jump ring, ensuring it’s secure.
Replacing Loose Stones
If you notice a stone wobbling or missing altogether, don’t panic. Here’s how to fix it:
- Assess the Setting: For prong settings, gently push the prongs back into place using your flat-nose pliers.
- Use Jewelry Glue for Missing Stones: If the stone is completely gone, apply a small amount of jewelry glue to the setting and carefully place the new stone. Allow it to dry completely.
Repairing Bent or Broken Clasps
A malfunctioning clasp can leave your necklace or bracelet unusable:
- Identify the Issue: Is the clasp simply bent or completely broken? For damaged clasps, you may need a replacement.
- Bent Clasps: Use pliers to gently reshape the clasp back into its original form.
- Complete Breaks: If the clasp is beyond repair, remove it and attach a new one using jump rings.
Removing Scratches and Restoring Shine
Jewelry dullness and scratches are not just cosmetic issues; they can affect the overall look of your pieces. Here’s how to brighten them up:
- Use a Jewelry Polishing Cloth: Gently buff the piece to remove surface scratches.
- Baking Soda Paste: For tougher spots, mix baking soda and water to form a paste. Apply with a soft cloth and rinse thoroughly.
- Vinegar Soak: Soaking your jewelry in vinegar can also help remove stubborn tarnish. Rinse and dry completely afterward.
Preventative Jewelry Care
Store Properly
To minimize future repairs, proper storage is essential. Use a jewelry box with compartments or individual bags to prevent tangling and scratching.
Regular Cleaning
Make it a habit to clean your jewelry regularly. A quick wipe with a soft cloth can help retain its shine and integrity.
Wear Responsibly
Be mindful of when and where you wear your jewelry. Remove pieces before engaging in strenuous activities, such as sports or heavy cleaning.
Conclusion: Taking Control of Your Jewelry Repair Needs
Jewelry repair doesn’t have to be an overwhelming task. With the right tools, techniques, and a little patience, you can bring your cherished pieces back to life in no time. Whether you’re fixing a broken chain, replacing a missing stone, or simply restoring shine, the tips outlined in this guide will empower you to take control of your jewelry maintenance.
By investing in a basic toolkit and familiarizing yourself with common jewelry issues, you set yourself up for success. Remember, the goal is not just to fix the problem but also to enjoy the process. DIY jewelry repair can be a rewarding hobby, allowing you to personalize and care for your favorite accessories.
Before discarding that broken piece or rushing to a professional, consider trying your hand at these simpler fixes. Over time, you’ll not only save money but also gain confidence in your ability to maintain your jewelry collection.
So, roll up your sleeves and dive into the world of DIY jewelry repair—you might just discover a new passion!